Details That Define Interior Quality
Baseboard & Finish Carpentry Upgrades in Colorado Springs for elevating interior trim and architectural character
Builder-grade baseboards with visible gaps where they meet flooring, casing around doors and windows that shows caulked joints pulling away from walls, and paint-grade trim with nail holes that telegraph through the finish all indicate basic installation that prioritized speed over precision. Baseboard and finish carpentry upgrades from InstallX replace these elements with trim profiles that add visual weight and architectural detail to Colorado Springs homes. The difference shows in tight miter joints at corners, consistent reveal lines where trim meets jambs, and smooth painted surfaces without nail pops or visible filler.
Trim installation involves more than cutting boards to length and nailing them in place. Inside and outside corners require precise miter cuts that meet without gaps, coped joints on baseboards that maintain contact even when walls aren't perfectly square, and proper fastening into studs rather than just drywall. Trim must be installed with consistent reveal spacing where it meets door jambs and window frames, since inconsistent reveals immediately show poor craftsmanship. Colorado Springs homes experience seasonal humidity changes that cause wood trim to expand and contract slightly, so proper finishing and caulking techniques prevent gaps from opening at joints during winter when heating systems dry interior air.
Schedule a trim consultation to review profile options and discuss the scope of carpentry upgrades for your interior spaces.
What Proper Finish Carpentry Requires
Quality trim work starts with straight boards inspected for defects before installation, since warped or twisted trim cannot be forced flat against walls without creating gaps or wavy lines. Cuts must be accurate to within thirty-seconds of an inch for miters to close tightly, and joints get glued in addition to nailing so they resist opening from seasonal wood movement. Nail holes get filled with matching putty after installation, sanded flush once dry, then primed and painted so fasteners disappear into the finished surface.
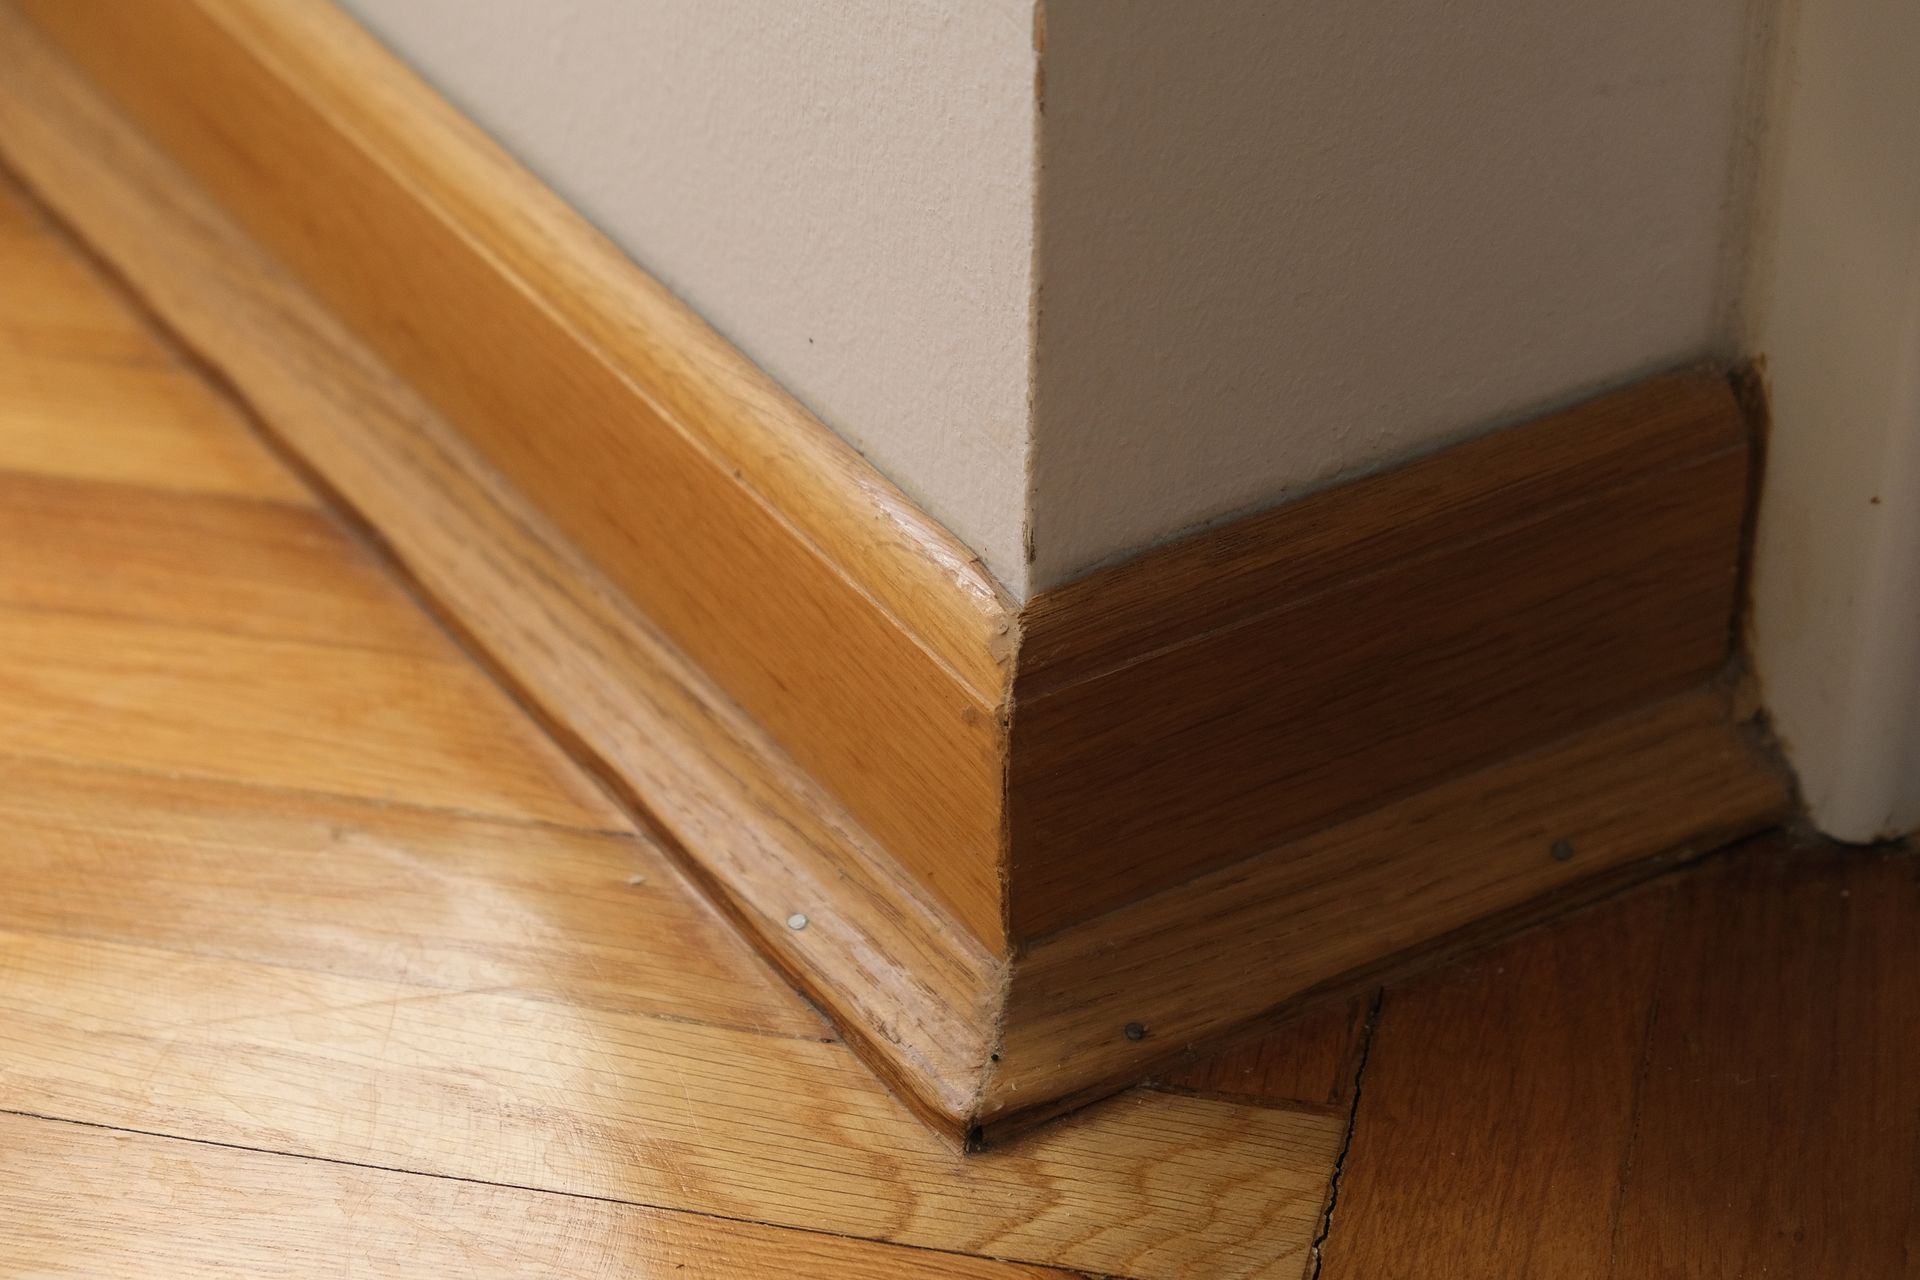
After installation, baseboards sit tight against flooring without gaps that collect dust, and top edges follow wall contours without visible spaces behind the trim. Door and window casing creates uniform borders around openings with mitered corners that meet in sharp lines rather than rounded-over joints showing gaps. Paint-grade trim shows smooth surfaces ready for final coating, while stain-grade installations display consistent wood grain and color without glue squeeze-out or filler that shows through finish. InstallX handles finish carpentry with attention to joint quality and surface preparation that affects final appearance.
Finish carpentry projects range from replacing baseboards in single rooms to complete trim packages throughout newly remodeled spaces, and may include crown molding installations that add visual height to rooms and transition walls to ceilings with defined profiles. Some projects involve removing existing trim carefully for reuse after painting or flooring updates, while others replace all trim with upgraded profiles that provide more substantial appearance than thin builder-grade materials.
Common Questions About Trim Projects
Trim and finish carpentry work involves material choices, joint techniques, and finish quality that separate basic installation from architectural detail.
What baseboard height works best for standard ceiling heights?
Five-and-a-quarter-inch baseboards provide good proportion in eight-foot ceiling rooms common in Colorado Springs homes, while taller baseboards in the seven-to-nine-inch range suit higher ceilings or rooms where substantial trim adds desired visual weight.
How do paint-grade and stain-grade trim differ in cost and installation?
Paint-grade trim uses finger-jointed pine or MDF that costs less and accepts filler easily for smooth painted finish, while stain-grade trim requires clear wood with consistent grain, costs more per linear foot, and demands more careful installation since flaws show through transparent finishes.
When should trim be replaced versus repainted during remodeling?
Trim with tight joints, consistent profiles, and solid attachment can be repainted and reused, but trim showing gaps, damage, or outdated thin profiles benefits from replacement to match the quality level of other remodeling updates.
What causes baseboard gaps to reappear after installation?
Gaps develop when trim isn't fastened into wall studs and instead relies on drywall anchoring that pulls loose, when wood wasn't acclimated to interior humidity before installation and shrinks after fastening, or when floors weren't level and trim was forced to follow uneven surfaces.
How does finish carpentry sequencing work with other interior projects?
Trim installation happens after drywall finishing, priming, and flooring are complete so baseboards can sit directly on finished floors and casing can wrap flush against painted walls, and final trim painting occurs as the last step after all cutting and fastening is finished.
Finish carpentry details define how polished your interior spaces appear, particularly after other remodeling updates that deserve trim quality matching the investment. InstallX provides baseboard, casing, and architectural trim installations with attention to joint precision and finish preparation. Contact us to review trim options and project scope for your specific upgrades.